Skip to content

the best brooder for starting chicksMaking a Protein Tub Brooder for Starting Chicks

*This article appeared in Tractor Supply Company's, Out Here Magazine*

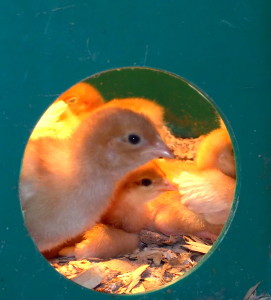
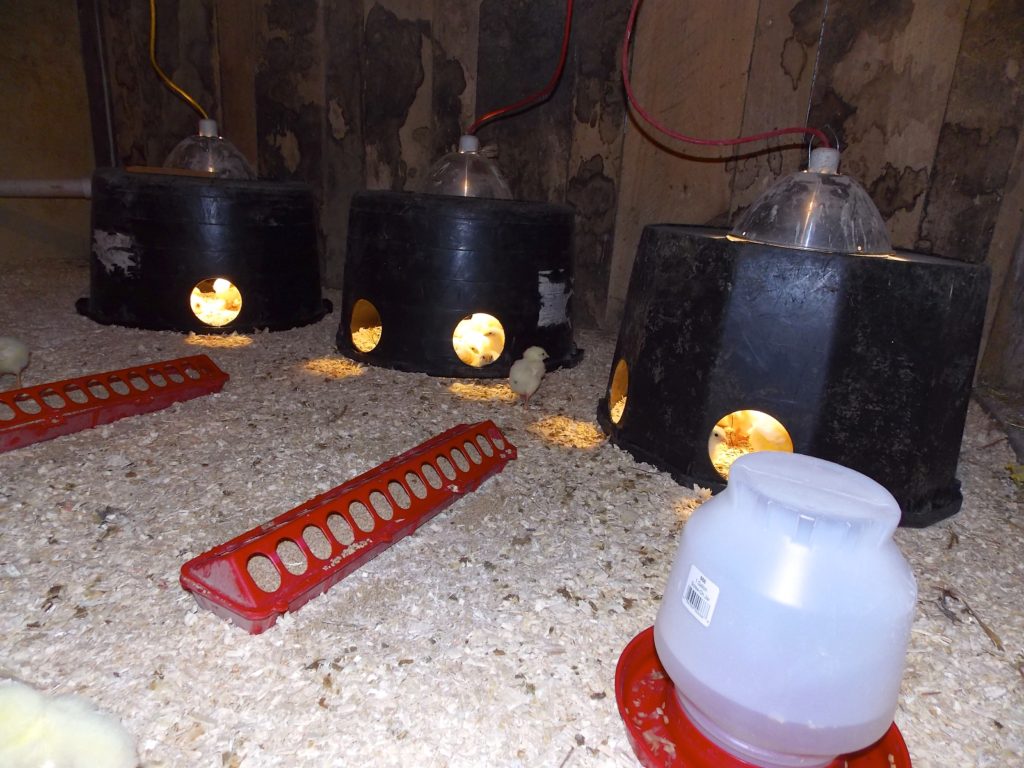
Murphy's Law of Farming states that, 'The minute your chicks arrive in the spring so will a cold front'. Making a protein tub brooder keeps chicks warm and healthy.  A protein tub brooder is a more efficient solution than hanging brooder lights, and a protein tub brooder keeps the heat where it should be; surrounding the chicks. They also create a draft free area with plenty of ventilation.

For years we started chicks under hanging heat lamps. The electric bill reflected the inefficiency.

It's important to have more than one protein tub brooder in case the light in one of them burns out there's another warm area for the chicks.

Each protein tub comfortably houses 10 chicks.

If you're starting turkeys read this to prevent early poult flip over

 Supplies:

  •  2 recycled protein tubs or Two muck buckets
  •  2 Brooder Light fixture with wire lamp guard
  •   Lightweight chain
  •  2 *100-watt incandescent bulb or low-wattage heat lamp ( 1 for each bucket)
  •  Pine shavings

* Rough Service incandescent bulbs NOT LED or compact fluorescent

Tools:

  • Black permanent marker
  • sharp knife, jig saw, or drill with 4” hole saw

Instructions:

Wash the protein tub or protein tub.
Flip the protein tub over and trace the outline of the brooder light in the center of the bucket's bottom.
Use a sharp knife or jig saw to cut along the outline. Cut the opening slightly smaller than the outline so the brooder light sits securely on top of the bucket.
Next use a jig saw or drill fitted with a 4” hole saw to cut 3 openings, evenly spaced, around the outer edge (which will become the chick's access to the brooder). Cut the holes an inch above lip of the protein tub. It's important to cut more than one entrance to prevent crowding at the opening. Multiple entrances improve ventilation.

Flip the protein tub over. Hang the brooder lamp from a lightweight chain. The chain is for safety, it prevents the lamp from falling inside the brooder. The brooder lamp should fit snugly on top of the protein tub with the lamp and wire guard sitting inside.
Use a 100 watt incandescent bulb or a low-wattage heat lamp in the fixture. Do not use a compact fluorescent or LED light - they do not generate heat. NEVER use a high wattage heat lamp and Never use a heat lamp with straw!

Spread pine shavings throughout the brooder area, both inside and outside the protein tub, to a thickness of 3 inches. Nestle the buckets into the shavings so the chicks can easily enter and exit the protein tub brooder.

Place feed and water outside the protein tub brooder. The chicks will eat and drink freely and go inside the bucket when they need to warm up.

Before your chicks arrive turn on the lights so that it's a comfortable temperature; 95 degrees the first week, reduced by five degrees each week following. Reducing the temperature is as easy as changing the bulb; a 100 watt bulb (or low-wattage heat lamp depending on the temperature) the first week or two. Change to a 75 watt bulb as the outside temperature warms up. Use brooder lamps until the chicks feather out and the outside temperature is comfortable.

Conclusion

Making a protein tub brooder is an efficient way to keep your chicks warm and healthy. This type of brooder is economical and easy to make. A protein tub brooder will last for years.

On our organic farm getting the chicks off to a healthy start is the key to their successful transition into the pasture. We've experienced fewer losses with better growth rates after making this brooder a part of our poultry plan.

This is the Best Brooder for Starting Chicks!
the bet brooder for starting chicks

Need other great ideas for raising healthy hens?

Check out The Healthy Chicken Handbook
 

https://amzn.to/2Kce0GB

Poultry Feed

Poultry feed

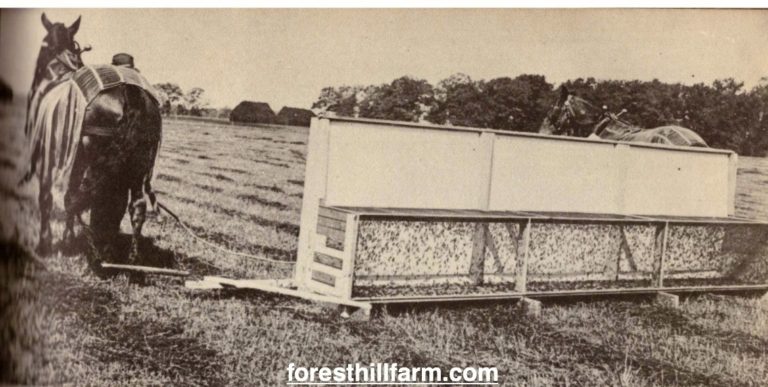
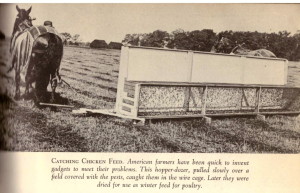
I love this picture. The grasshopper catcher is a perfect example of Necessity being the Mother of Invention. Insects are a great source of protein. Free range poultry fill up on grasshoppers keeping the pests under control. It's a seasonal feast, though. The pioneers solved this by catching grasshoppers in the hayfield and drying them for winter feed. This is just one example of alternatives to corn and soybeans.

Summer through fall our chickens, ducks and turkeys move through the pasture catching insects and eating greens. Take advantage this summer and send the kids outside with a net and a bucket. Let them catch bugs. Have them turn over rocks and look under logs. They'll find plenty to feed the chickens.

A couple of years ago I heard about the benefits of goji  berries so I planted some. They're full of vitamins but they taste terrible. Now, instead of using them myself, I dry them for chicken feed. Apparently the chickens don't mind the bitter flavor. Goji berries are easily dried and stored for year round use.

In certain areas of the country its not easy to buy small grains. Here in Iowa corn is king, followed by soybeans. Finding wheat is tough – no one grows it commercially in this area. There's no market for it here. Growing food plots gives the flock both exercise and superior nutrition. Plus, you'll have healthy eggs and meat. A food plot of small grains; wheat, oats, and barley inter seeded with clover and alfalfa provides a balanced diet when grazed green or cut and dried for winter feed. These plots are terrific for growing chicken feed.

This is the time of year to think about feeding the flock in the winter. Learn to sprout grains or grow fodder. The nutritional value of the two is quite different. In sprouted grains the white tap-root is full of enzymes. Once a green shoot develops the enzymes are lost to the sprout, but the green sprout is full of health qualities, too. Your hens will be healthier with the forethought.

And, if you'd like healthy meat and you're not raising poultry yourself we'd be happy to have you as a customer.

Need more great tips on feeding chickens?

Check out The Healthy Chicken Handbook

https://amzn.to/2Kce0GB

1

Growing Oyster Mushrooms  (click on the main title above to see the beauty of these mushrooms)

Keith and I decided that we were under utilizing the timber ground of this farm. We planned a few projects to re-connect us with the beauty of the forest. The first two projects were; tapping Walnut trees and inoculating logs for mushroom production.  At the time of year when we would normally be inside the house these projects brought us outdoors to enjoy the timber. This past winter we cut aspen trees for growing mushrooms.   In February we set up a production line to inoculate the logs.

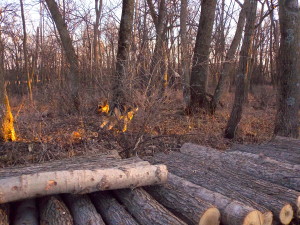
Last March the inoculated logs were stacked on pallets in the timber.

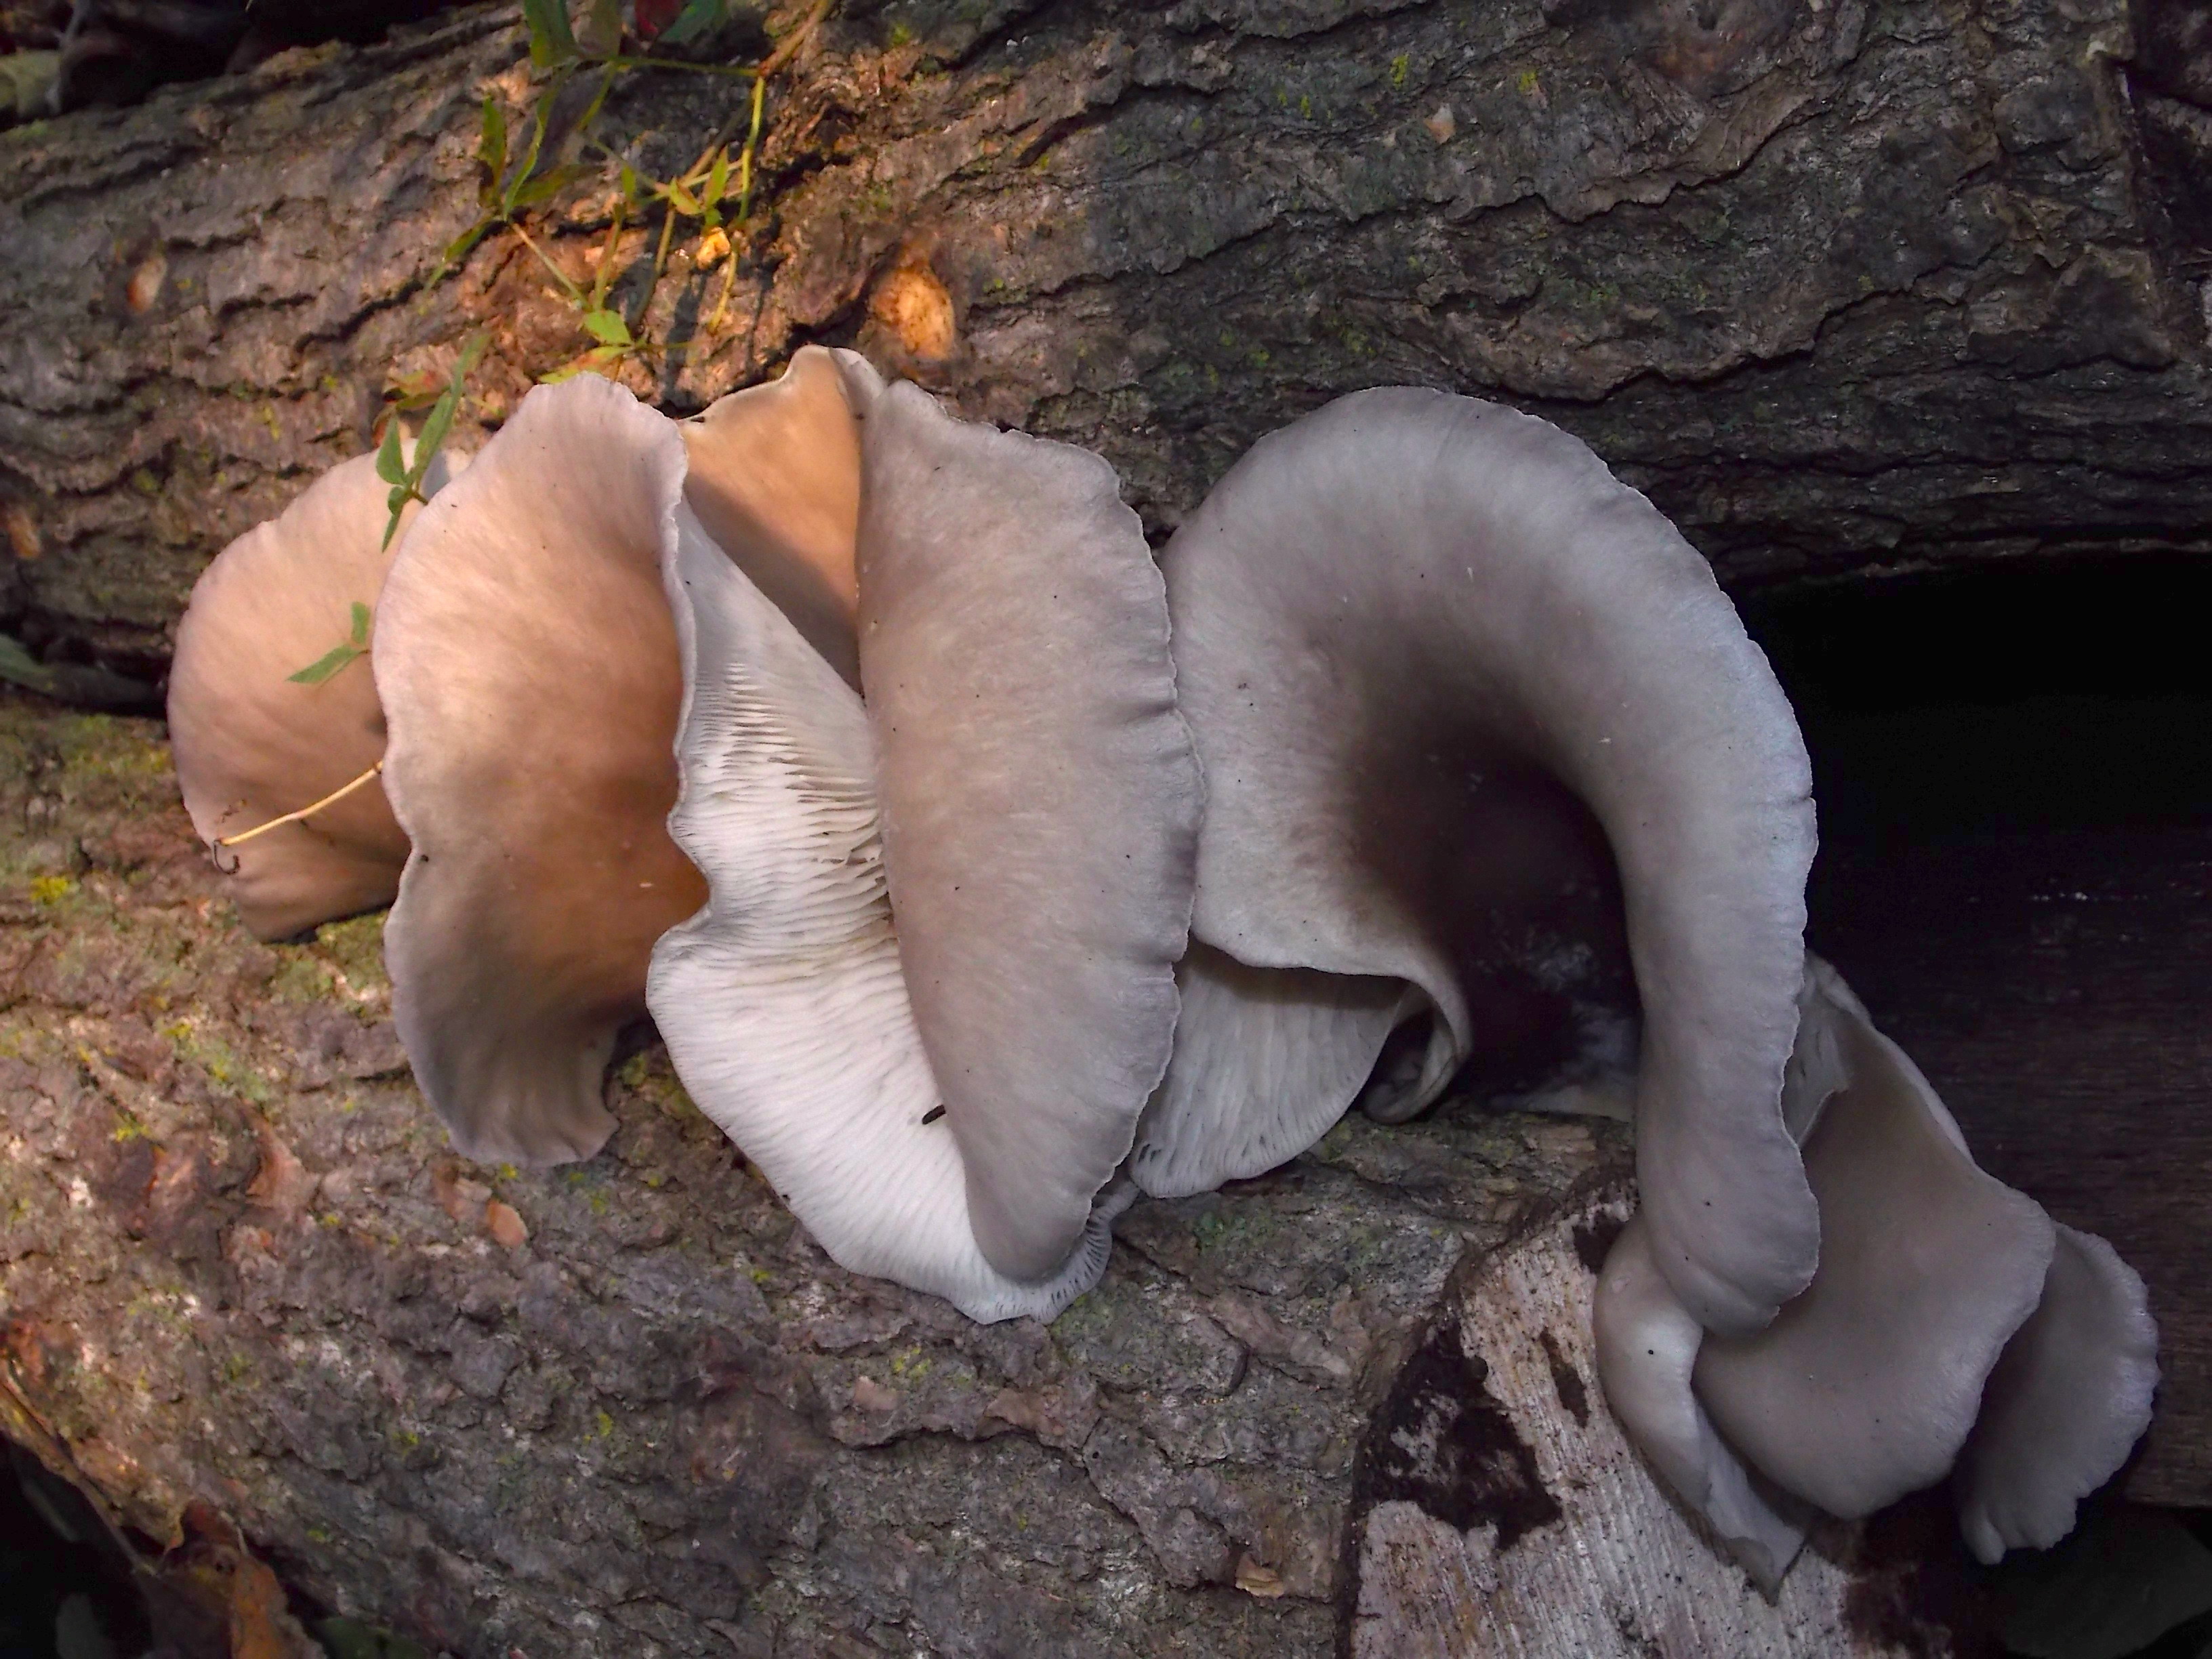
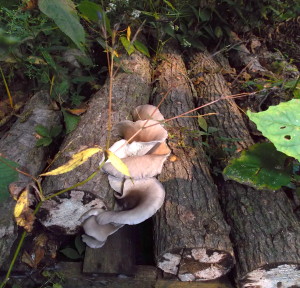
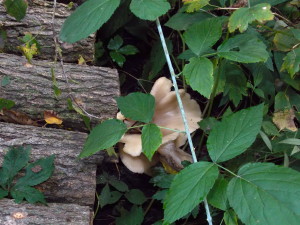
This week we harvested the first mushrooms. We're growing both Grey Dove and PoHu Oyster mushrooms. Now that the mushrooms are growing the next step is to stand the logs up on end in a tepee fashion. These logs will actively produce mushrooms for the next few years.

We bought our supplies at Field and Forest Products   An added benefit of buying from them is that they sell certified organic mushroom spores.

Here's a great book to get you started; Organic Mushroom Farming 


1

On an old oak stump in our front yard grew a Hen of the Woods mushroom. Keith would watch it grow and mature until it was the ready to pick. It was just about perfect.

We were sitting on the front porch when a car pulled up. The dogs were sleeping in the autumn sun, they didn't notice. The driver ran from the car, cut the mushroom, and drove off.

Apparently someone else was watching the mushroom, too. Keith walked around the stump in disbelief, “Who steals a mushroom?”

“Probably the same type of person who tries stuffing a goat into the hatchback of their car.” A few weeks earlier a nicely dressed couple tried driving off with our goat, Midnight and a few of the laying hens.

Poor Keith, I empathized with him. He'd been waiting to enjoying this mushroom for a long time.

Our neighbor, Mike watched the same car pull up to his ditch and cut weed stalks early each summer. One year he flagged them down to ask what they were cutting. What they thought were wild rhubarb stalks in reality was Burdock. Mike just smiled, shook his head and waved them on. He loved re-telling that story.

Here in Iowa folks park along the roadside searching for wild asparagus or morels. The asparagus seekers carry sharp knives and plastic bags. They walk along the ditches and fence rows searching the grass around utility poles.

For some reason the commercial morel hunters irritate me, they don't ask for permission, they're dropped off in an area to begin scavenging the timber and underbrush for saleable product. They wear camouflage and carry handheld GPS devices. Morel's bring a hefty price.

Growing mushrooms is one of our latest projects. We're growing Oyster mushrooms for fun.  Keith loves mushrooms. One year I bought him a shiitake growing kit which was fine, but about the difference between owning a plastic model of a Corvette or the real thing.

It was time for an up-grade, so this year we're growing two varieties of organic Oyster mushrooms; Grey Dove and PoHu.

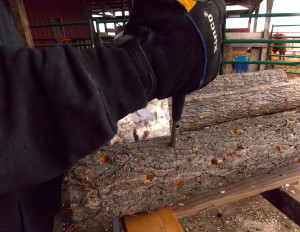
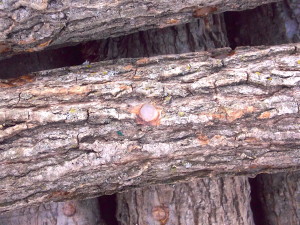
Keith cut logs from dormant Aspen trees. Each log is about 3 feet long, 6 – 8 inches in diameter. There are about one hundred logs for this year's mushroom project. He used a special bit to drill the holes. Cookie inoculated the logs with sawdust spawn and then capped each with wax. The logs are stacked in the timber, when it's dry this summer we'll use a water tank to soak the logs. The first mushrooms should start growing within a few months. This first year's yield will be sparse, but should increase each season for many years.

DSCN2926

Schroeder Thomas splint

*This post is for information purposes only and does not replace the need for a qualified veterinarian*

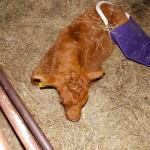
Our veterinarian anesthetized the calf and he set the leg. We assisted by making the frame and wrapping the leg under his supervision.

This time of year we get two or three emails each week asking about the Schroeder Thomas Splint (click here for the original post).

Here are the instructions and pictures:

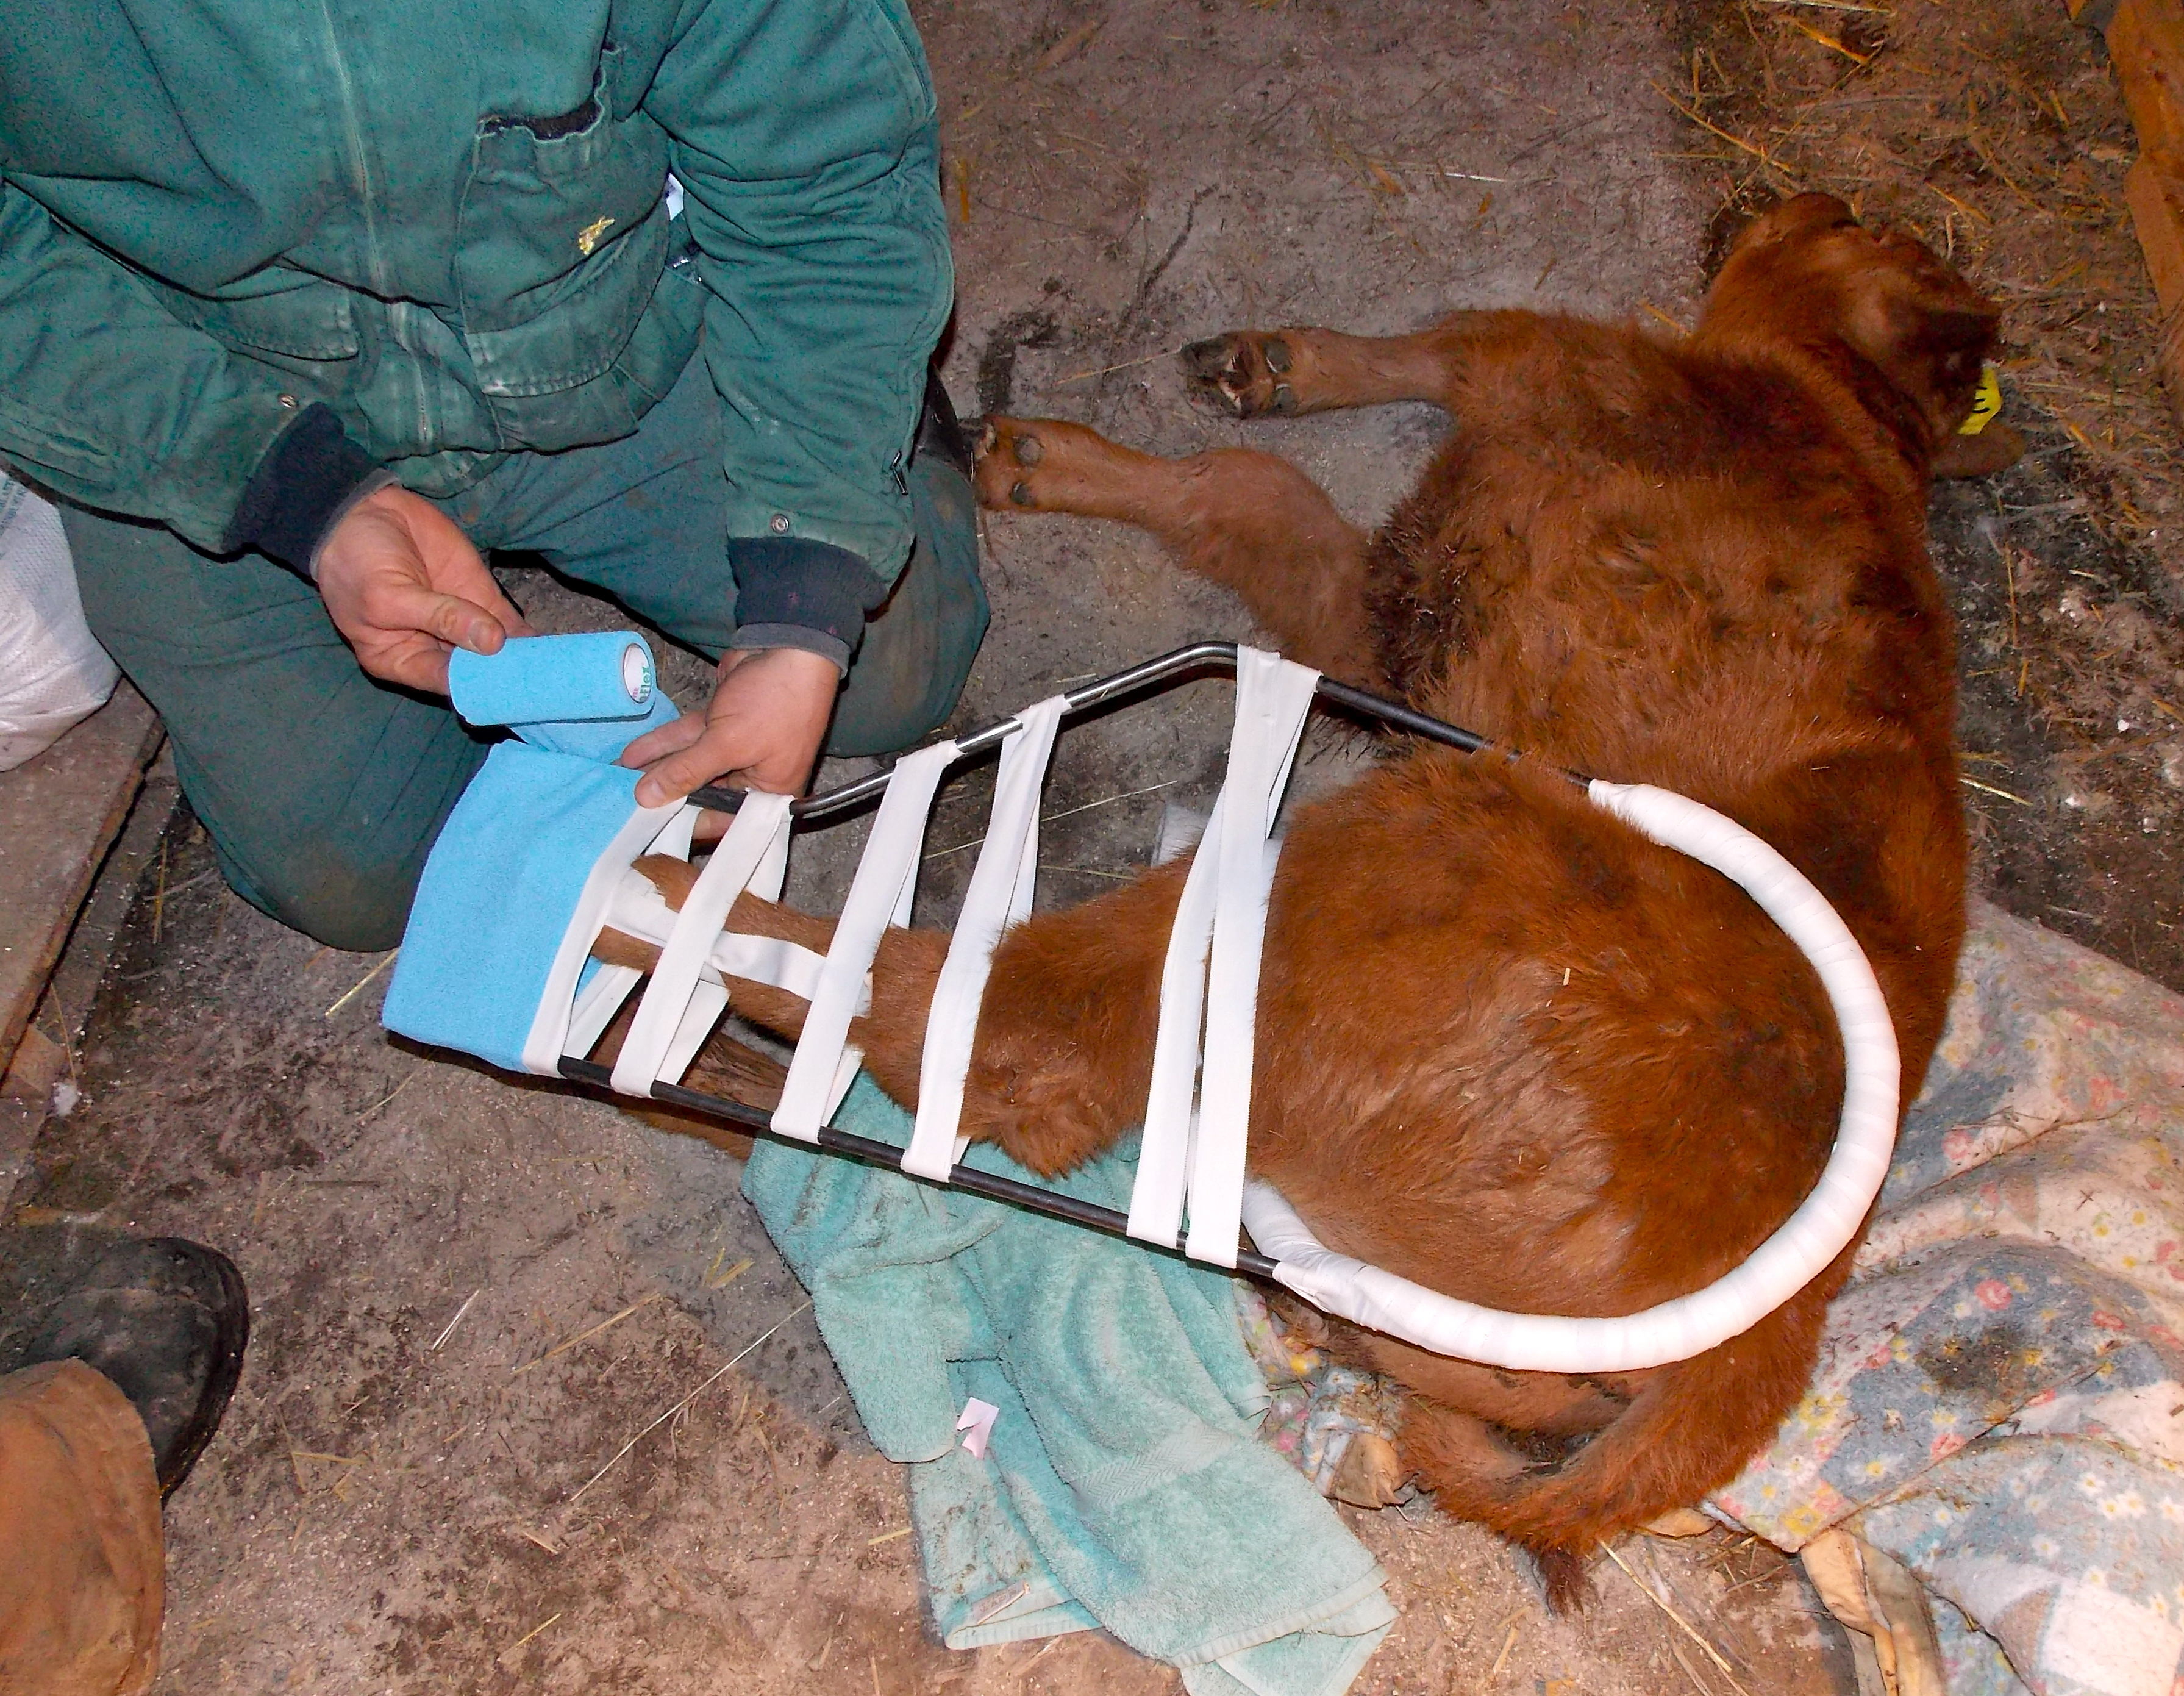
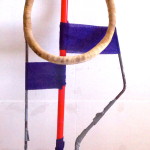
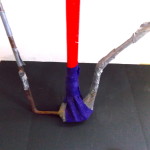
Our calf had a left hind leg break. These pictures are of a Schroeder-Thomas splint for a hind leg. Regardless whether front or hind leg the objective is to fix the leg in place and apply downward pressure, with the leg fully extended to set the bone in place. (The red broom handle represents the leg) Click on the pictures to view more clearly.

frame of Schroeder-Thomas splint, broom handle represents leg


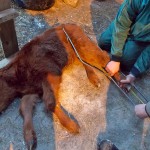
1. Measure the hip/thigh of the calf for back leg or shoulder/upper arm for front leg. We used string to measure the thigh and made a paper template of the leg. Based on those measurements Keith Used steel rod to weld this frame.

The frame goes around the outside hip and under the inside groin area

2. Weld a plate for a hoof rest at the bottom of the splint. The plate will secure the leg in place with downward pressure.


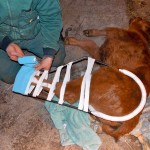
fix the leg to the frame alternating tape from left to right to keep the leg in place

3. Fix the leg to the sides of the frame; tape alternately left side, right side, repeat as you tape the length of the leg to the frame. DO NOT WRAP THE ENTIRE LEG TO ONE SIDE: ALTERNATE THE WRAP FOR LATERAL STABILITY. (We used 3m Vet Wrap)


Tape the hoof to the bottom plate of the frame to apply downward pressure

4.  Wrap around the hoof and fix the leg to the bottom of the frame; apply downward pressure and fully extend the leg.  A wooden splint will help hold the leg in a place to the bottom of the frame. On our first attempt we didn't have the hoof held tightly to the bottom of the frame.


5. Cushion any pressure points to prevent open sores. Apply topical fly repellant.

6. We covered all the vet wrap with duct tape for additional stability. Don't use duct tape directly on the hair coat without protective covering .

7. It will take a few days for the calf to learn to get up and down while wearing the splint. He'll get the hang of it but it will be awkward.

8. If you need help send an email, we're happy to answer questions.

Taping the leg in place
Taking careful measurements
Taking careful measurement


Recuperating
Recuperating


Tapping walnut trees!

Tapping Walnut Trees
Collecting Walnut sap

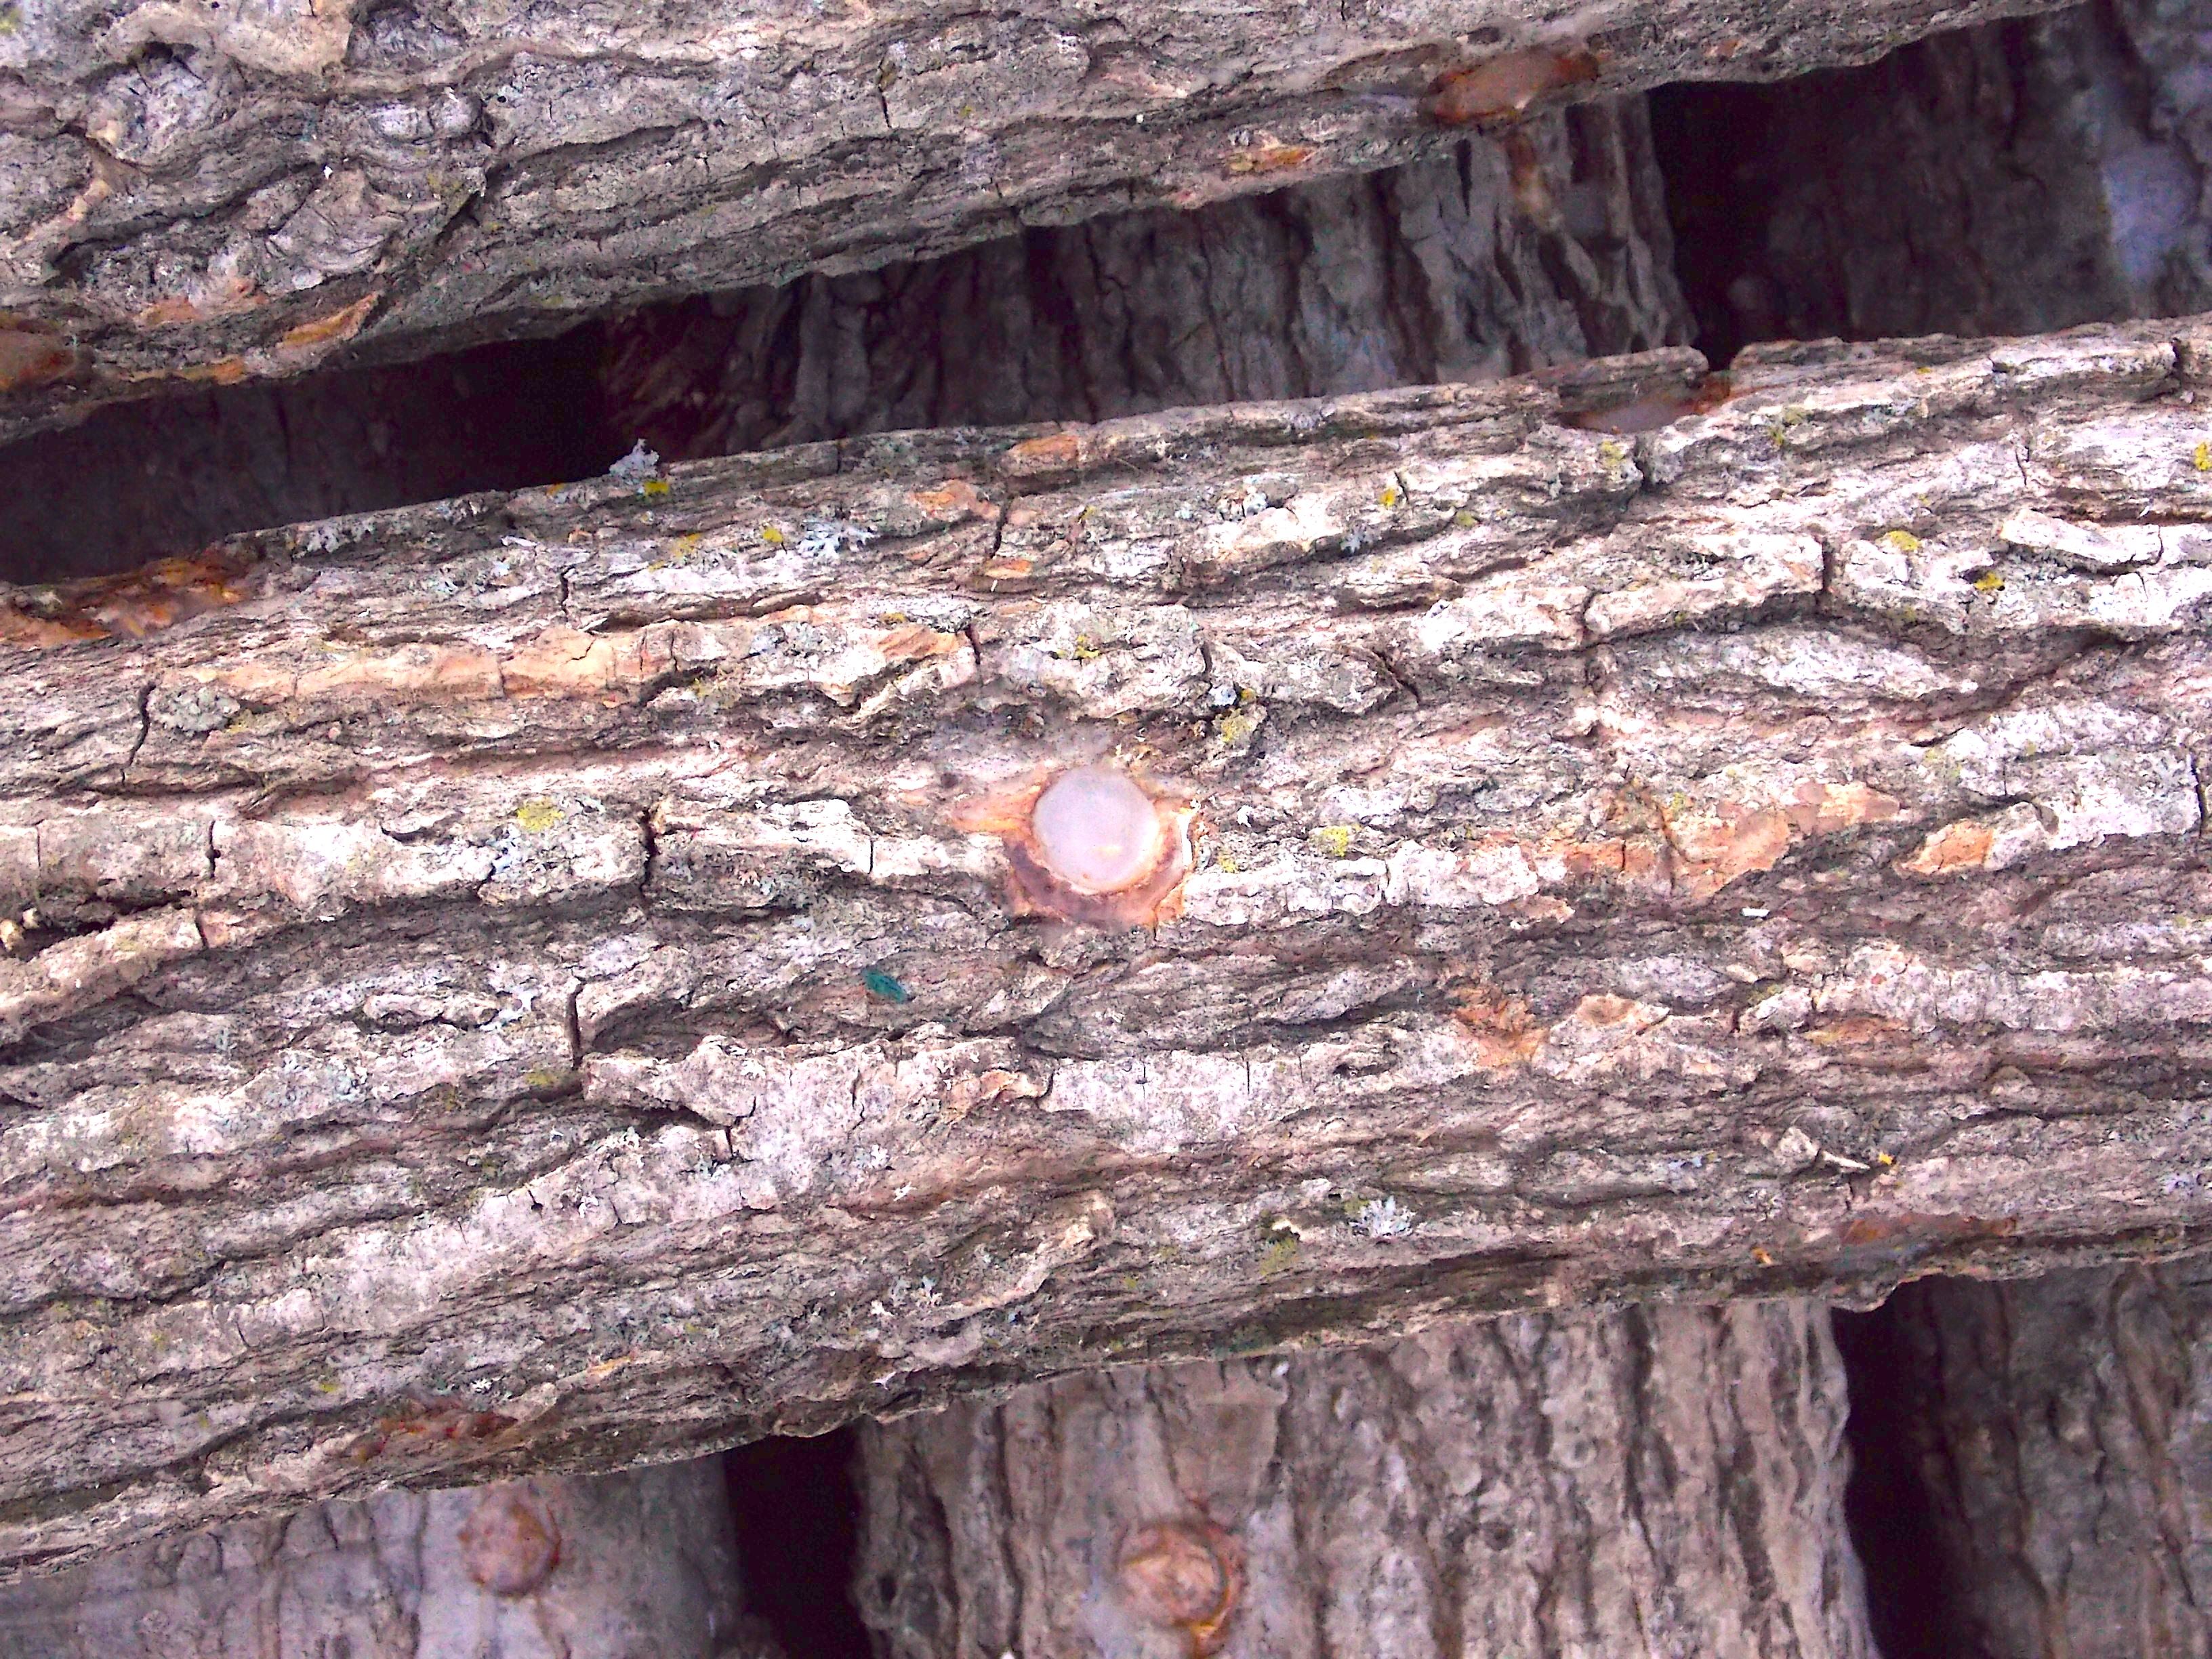
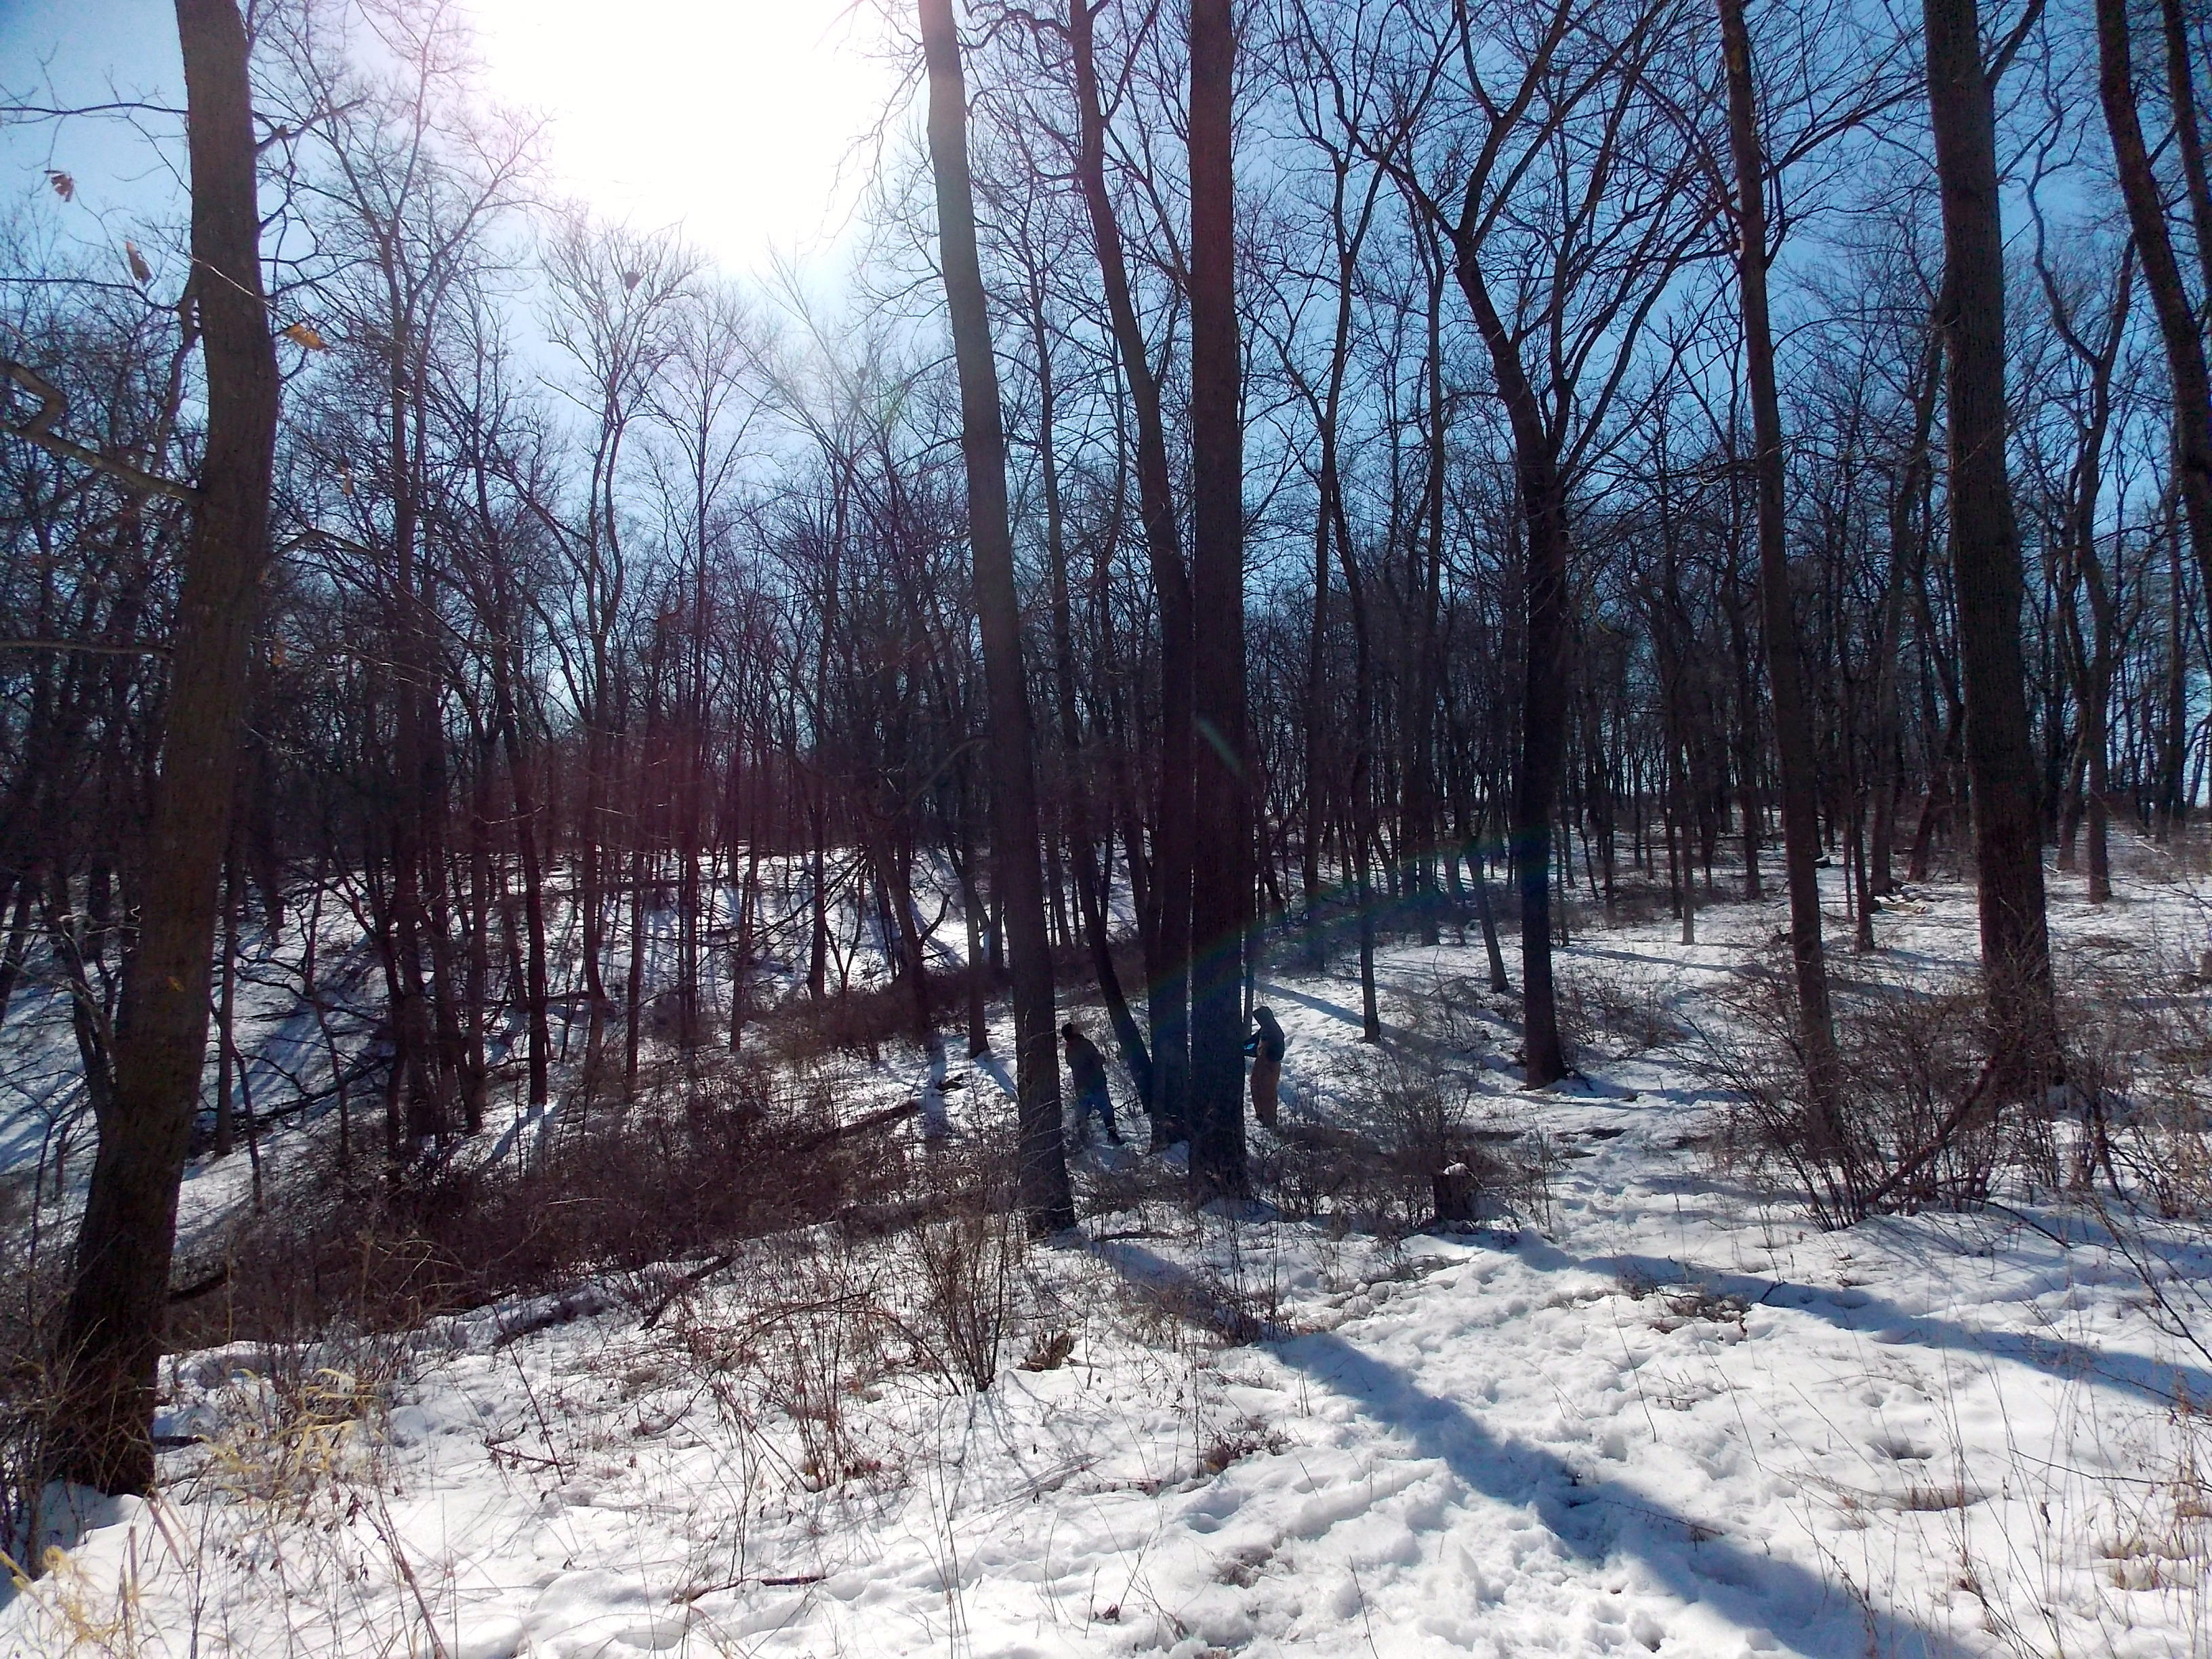
The local NPR station had a program about tapping trees. Michael Farrell, author of The Sugarmaker's Companion talked about collecting sap from different types of trees. Keith liked the idea of tapping walnut trees and birch trees to make syrup. The Black Walnut trees are abundant in our timber. After reading the book we became interested in the benefits of sap water as a healthful drink, so we're tapping walnut trees.

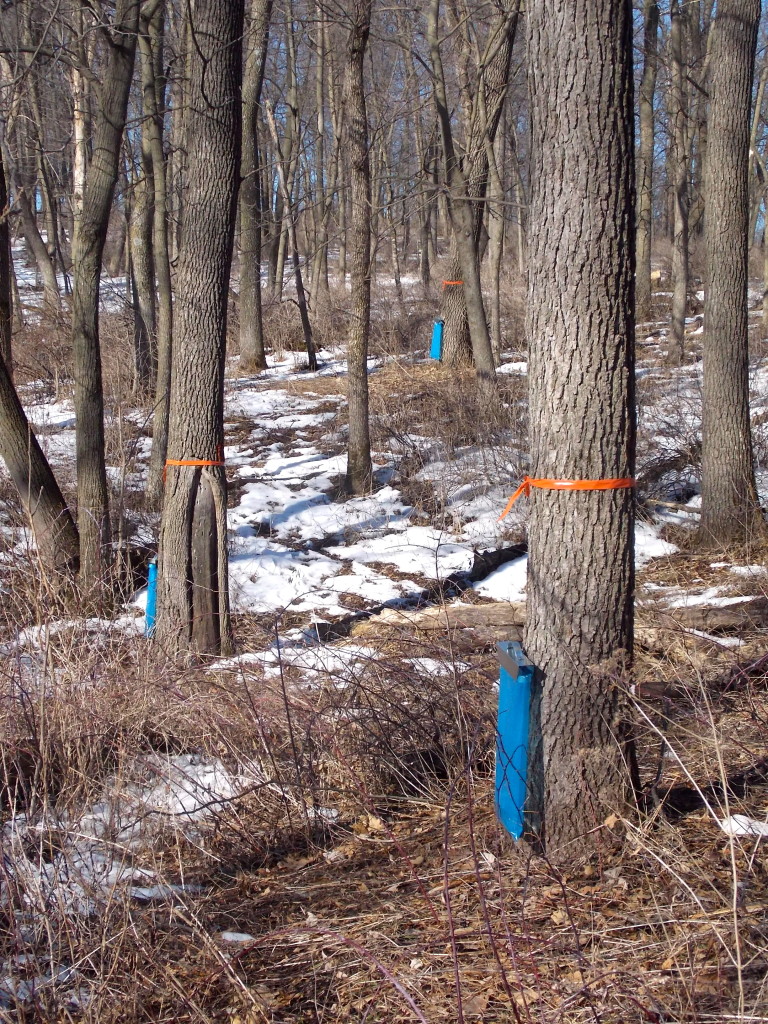
Keith and our local forester, Jeff  marked trees for tapping. Not wanting to ruin marketable timber, or veneer, the two of them selected twenty-six crooked or damaged trees for this first season's experiment.

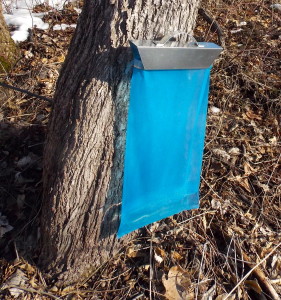
The trees cover a larger area so tubing wasn't an option. Instead, collection bags hang from the taps. Walnut's have about the same brix (sap sugar content) as maple trees. The volumes of sap is less, though. Walnut sap is nutrient rich, slightly sweet, with a nutty flavor. It's power packed.

In other cultures tree sap is a valued health drink. Fresh sap is good for five days, after that it needs pasteurization and filtering. It will last indefinitely when it's frozen. To get the benefits throughout the year I'm freezing it in ice-cube trays and glass jars for later use.

Depending on how much sap we collect there might be enough to make walnut syrup, but with a sap to syrup ratio of 40:1, we'll see.

The sap runs for only about five-weeks each spring. Tapping walnut trees is just like tapping maple trees, walnut trees leaf out later than maples so the season might extend longer. When the walnut sap finishes flowing the birch trees are ready to tap. Birch flow starts later in the spring and runs until the trees leaf out.

Sugaring is a great way to enjoy the outdoors and spend time together.

tapping walnut trees
Collecting Walnut Sap

Winter Feeding

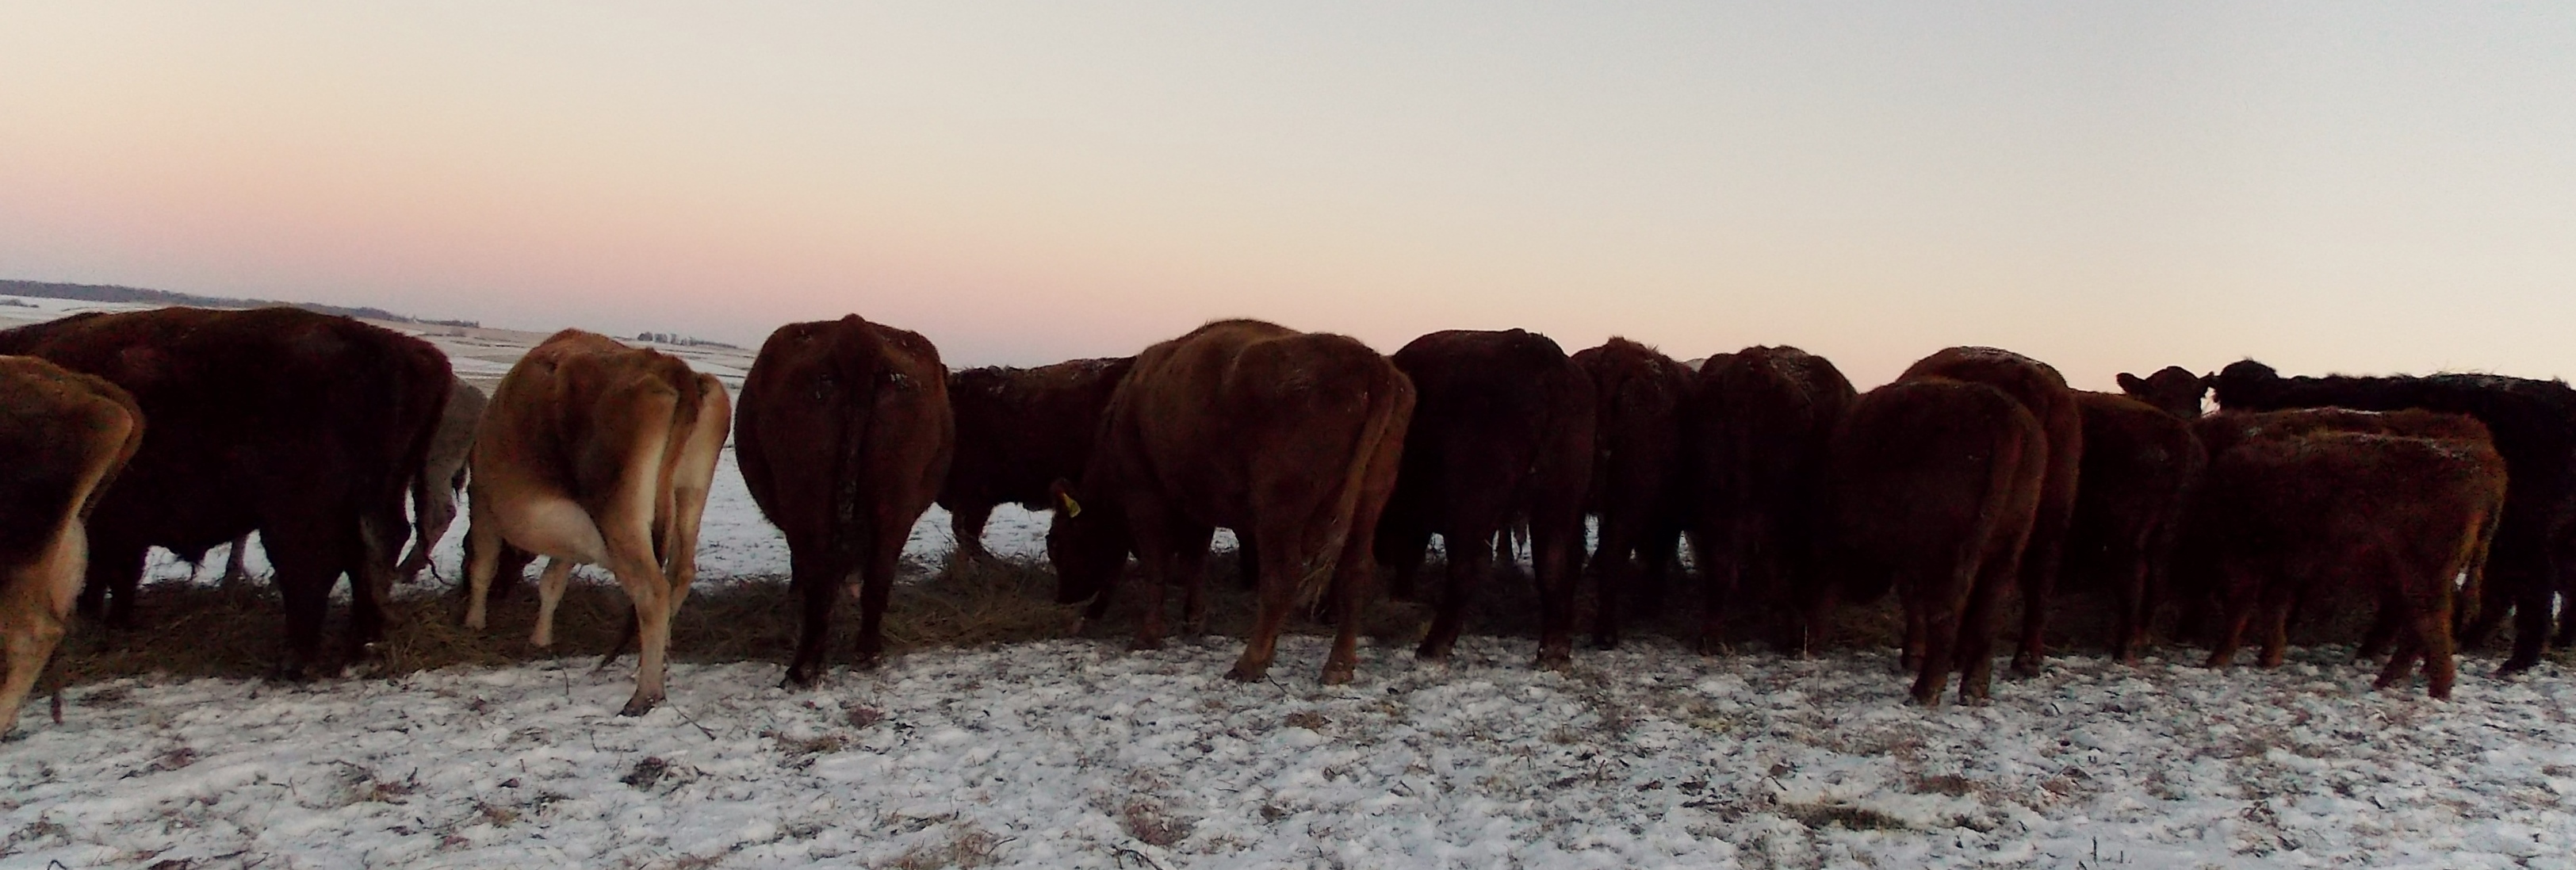
It was much easier MIG grazing; Just move the strand of wire while enjoying the sunshine. Now we're using equipment to unroll round bales across the snow. Next year we'll experiment with stockpiling forage for winter grazing. No equipment. No un-rolling. The plan is to plant endophyte free fescue for winter forage and supplement it with fodder.  We'll still put up small square bales of clover, orchard grass, and alfalfa, but if stock piling goes well, hay baling may become a thing of the past. Time will tell.